

Stay Connected Anywhere: The Simple Guide to International eSIMs
An international eSIM is a digital SIM card embedded in your phone that lets you connect to cellular networks abroad without needing a physical card. You simply scan a QR code or use an app to download a local carrier profile, which instantly gives you data, calls, and texts in multiple countries. Because it works across borders automatically, you avoid hunting for local SIMs or paying roaming fees, making travel smoother and more flexible. In short, it’s a pocket-sized key to staying effortlessly connected anywhere you go.

What Exactly Is an International eSIM and How Does It Work?
An international eSIM is a digital SIM card that stores profiles for multiple mobile networks across various countries, eliminating the need for a physical SIM swap. It works by embedding a rewritable chip in your phone, which you activate by scanning a QR code or installing an app. When you travel, the eSIM connects to partner networks abroad, automatically selecting a local carrier to provide data and voice services. The core mechanism is a software-based profile that switches between network operators based on your location. Unlike a domestic SIM, it aggregates roaming agreements into one pre-paid package, letting you activate coverage before departure or on arrival.
Your phone becomes the carrier-agnostic device, and the eSIM’s profile handles all network authentication and billing remotely.
Data usage is deducted from your chosen plan, and you can manage multiple profiles or top up directly from the eSIM provider’s app.
Breaking Down the Technology: Embedded SIM vs. Physical SIM Cards
The core divergence between an embedded SIM (eSIM) and a physical SIM lies in hardware versus software. A physical SIM is a removable chip you insert, tied to one carrier profile at a time. An eSIM is a soldered chip inside your device, storing multiple profiles digitally. For international travel, this means you scan a QR code or download a data plan—no swapping tiny cards mid-journey. You toggle between your home carrier and a local network via settings, while a physical SIM requires physically ejecting and replacing it. eSIMs also free the tray for a second physical SIM, enabling dual-line use without compromise.
How Data Plans Get Delivered to Your Phone Instantly
When you buy an international eSIM, the data plan isn’t shipped or physically eSIM Europe loaded—it travels as a secure digital package straight to your phone. The moment you scan a QR code or tap an activation link, your device downloads a tiny profile file that contains your new network credentials. This file installs into your eSIM chip, and your phone immediately syncs with local towers in your destination country. There’s no waiting for a physical SIM card to arrive, and no need to visit a store. The entire process usually finishes in under a minute, even while you’re still at the airport. It’s essentially a remote instant eSIM provisioning handshake between your phone and the carrier’s server.
- Your phone sends a secure request to the eSIM provider’s server using your existing internet connection (Wi-Fi or cellular).
- The server verifies your purchase and pushes an encrypted profile directly to your device’s eSIM slot.
- Your phone installs the profile, reboots the cellular radio, and connects to a partnering local network—often showing full bars before you’ve left the terminal.
Why Switch to a Global Data Plan for Travel?
Switching to a global data plan for travel via an international eSIM removes the need to hunt for local SIM cards or rely on patchy airport Wi-Fi. You activate one digital profile before departure, and it automatically connects to partner networks upon landing, so your maps, ride-hailing apps, and messaging work immediately. Instead of paying per-megabyte roaming fees, a single global package offers predictable, tiered data allowances that suit short trips or extended stays. What is the main convenience of a global eSIM plan? It keeps one consistent, active data connection across multiple countries without changing physical cards or reconfiguring settings. That means your phone behaves exactly as it does at home—receive verification codes, stream directions, and share photos—while you focus on itinerary, not connectivity logistics.
Key Benefits Over Roaming Fees and Local SIM Hunting
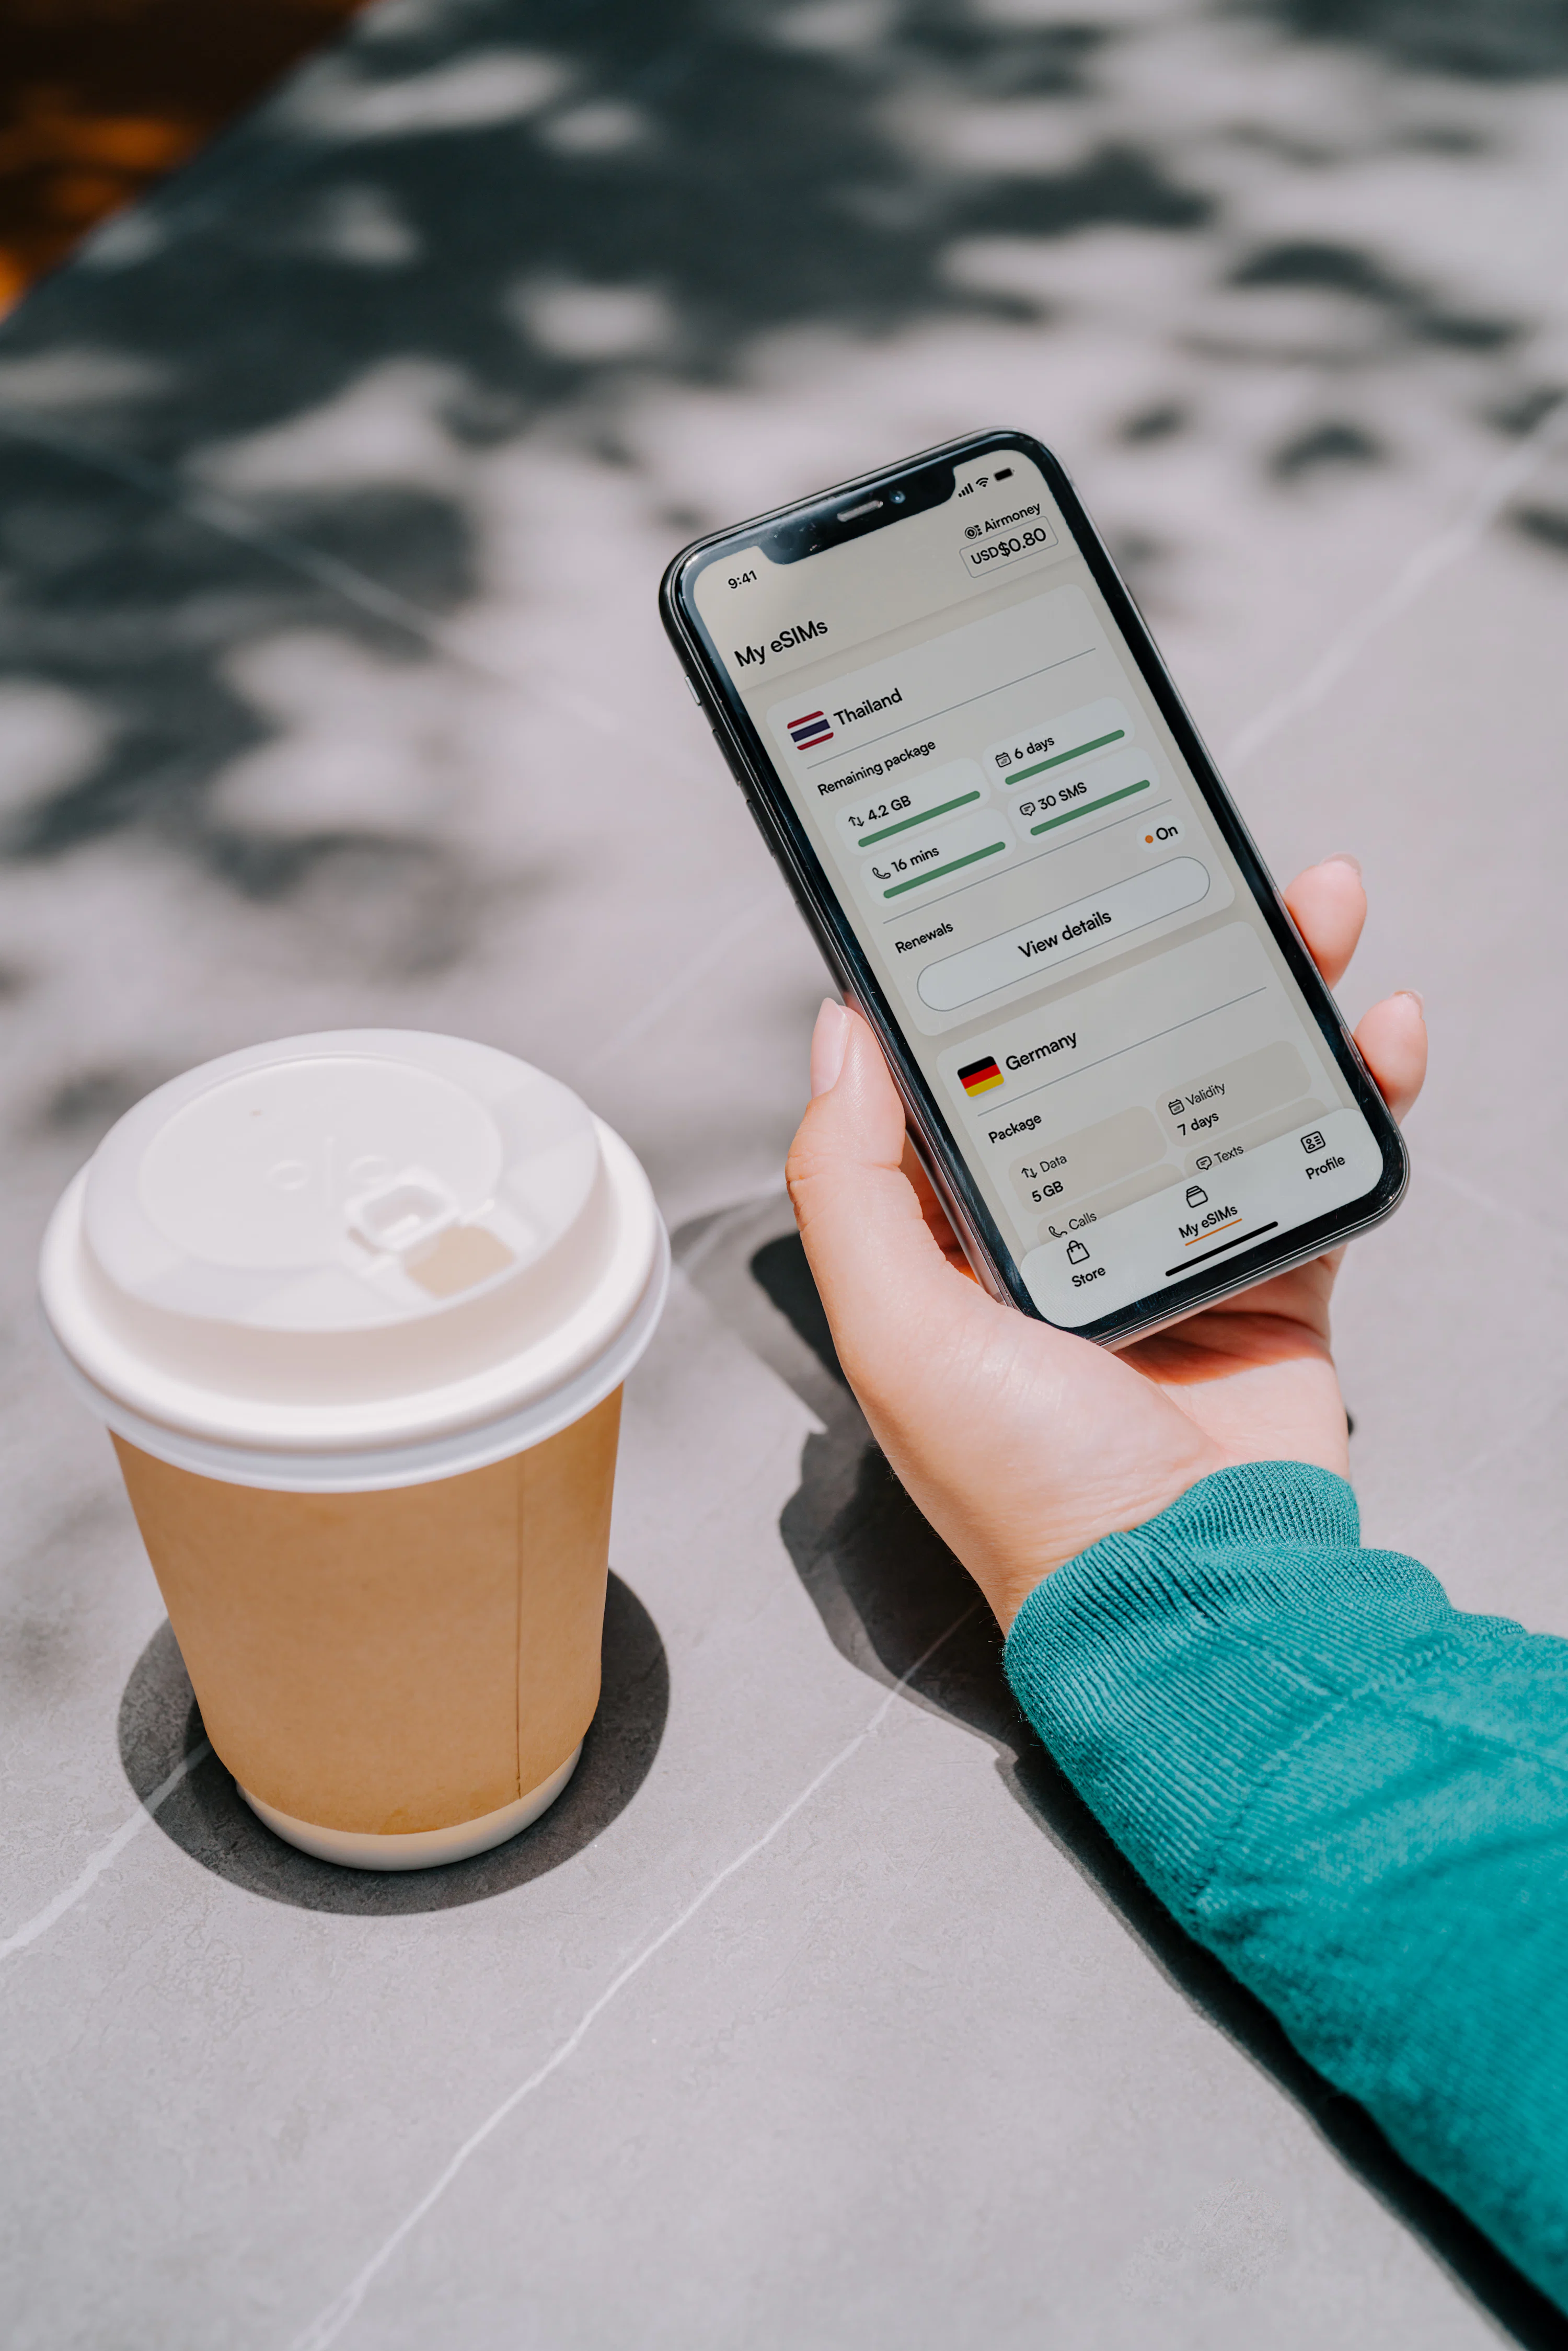
A global eSIM eliminates the shock of roaming overage charges by locking in a flat, predictable rate before you depart. Unlike local SIM hunting, there is no frantic airport shop search, no passport registration queues, and no tiny SIM tray fumbling with a paper clip. Your profile activates in minutes via QR code or app, giving you instant connectivity for arrival. Prepaid data packages for international eSIM beat roaming by allowing exact budget control and beat physical SIMs by letting you switch networks or top up remotely without swapping cards. Key operational steps for travel: check device compatibility, purchase the data bundle, install the profile, and activate upon landing.
Keeping Your Primary Number Active While Using a Second Line
Keeping your primary number active while using a second line is effortless with a dual-SIM eSIM setup. You retain your home number for SMS-based banking codes and iMessage verification, while the travel eSIM handles your data. Crucially, disable cellular data switching on your primary line to prevent accidental roaming charges, and rely on Wi-Fi calling over the eSIM’s connection for free calls back home. This ensures your two-factor authentication never breaks, and your contacts always reach you, without paying your carrier’s daily roaming fee. Primary number continuity is the hidden killer feature of eSIM travel, letting you ignore your home SIM entirely until you return.
Keep your primary SIM active for SMS and iMessage, disable its data roaming, and use Wi-Fi calling over the travel eSIM to stay reachable without incurring home-carrier fees.
How to Set Up and Activate a Travel eSIM on Your Device
To activate an international eSIM for travel, first confirm your device is unlocked and eSIM-compatible, then purchase a plan from a provider like Airalo or Holafly before departure. Scan the QR code emailed to you, or manually enter the activation details under *Settings > Cellular > Add eSIM*. Once installed, label it as “Travel Data” and set it as your default for cellular data while keeping your primary line active for calls and SMS. **For immediate connection, enable data roaming on the travel line—this is not a charge, but the eSIM’s gateway to local towers.** *Q: How do I avoid double-billing when using a travel eSIM? A: Disable automatic network selection and switch your primary SIM’s data off, so only the eSIM carries data.* Finally, reboot your phone to force the network handshake, then verify service by toggling airplane mode on and off. Your international data is now live, replacing expensive roaming with a flat-rate local connection.
Step-by-Step Installation for iPhone and Android Phones
For step-by-step eSIM installation on iPhone and Android, begin by confirming your phone is carrier-unlocked and eSIM-compatible. On iPhone, open Settings > Cellular > Add Cellular Plan, then scan the QR code provided by your eSIM provider. After scanning, label the plan (e.g., “Travel Data”) and set it as your default for cellular data if desired. On Android, navigate to Settings > Network & Internet > SIMs > Add SIM, then choose “Download a SIM instead” and scan the QR code. Follow on-screen prompts to activate the plan, ensuring your primary physical SIM remains active for calls. Finally, enable data roaming specifically for the travel eSIM profile, then restart your phone to complete the installation.
Installation requires scanning a QR code via Settings > Cellular (iPhone) or Settings > Network & Internet > SIMs (Android), then activating roaming to finish.

QR Code Scanning vs. Manual Activation – Which Method Works Best?
QR code scanning is the fastest and most error-free way to install an international eSIM, as it automatically populates all APN and activation details. Manual activation, requiring you to type the SM-DP+ address and activation code, is useful when the QR code is missing, blurry, or when using a provider that only emails text credentials. For most travelers, scanning wins for convenience, but manual entry is a critical fallback on devices with camera issues. Both methods trigger the same profile download; the choice hinges on your patience and hardware reliability.
QR code scanning vs. manual activation ultimately depends on your specific device and provider support. If your phone has a functional camera, scanning takes under 30 seconds. Manual activation takes longer and risks typo-induced errors, but it works on any device, including some older tablets. A hybrid approach—scan first, then manually verify the IMEI or eSIM label—offers the best of both worlds.
Q: Which method works best for activating an international eSIM while traveling?
A: QR scanning is best for speed and accuracy, but manual activation is your reliable backup if the QR code is unscannable or absent. Keep the provider’s manual details saved offline.

Which Phone and Device Are Compatible With Digital SIMs?
For international eSIM use, compatibility hinges on a device being **carrier-unlocked and supporting eSIM via its IMEI**. Most modern flagships qualify: Apple iPhone XS and newer (excluding some Chinese models), Google Pixel 3 and later, Samsung Galaxy S20 and above, plus recent Galaxy Z Flip and Fold series. Mid-range options like the Pixel 7a and Galaxy A54 also work. iPads with cellular (Pro, Air, mini from 2019 onward) and select smartwatches (Apple Watch Series 3+, Samsung Galaxy Watch 4+) support eSIM, though watch plans are often separate. To instantly verify, check your phone’s settings under “Add Cellular Plan”—if that option appears, you’re likely ready. Q: Is a locked phone usable? A: No, it must be carrier-unlocked to install an international eSIM. Always confirm with your provider’s compatibility checker before purchasing a data plan, as older budget Androids and some China-region devices lack the required hardware.
Checking Your Phone’s Unlocked Status and eSIM Support
Before purchasing an international eSIM, verify your phone is carrier-unlocked—a locked device will reject any foreign network profile. Check this via Settings > General > About (iPhone) or Settings > Connections > Mobile Networks (Android), looking for “No SIM restrictions” or “SIM unlock” status. Next, confirm hardware eSIM support by dialing *#06# and seeing an EID number, or checking the manufacturer’s spec sheet. For iPhones, model numbers ending in “LL/A” (US) or “B/A” (global) typically support eSIM; international variants like the Japanese “J/A” may have a physical SIM-only tray. Always test eSIM compatibility after unlocking by scanning a trial QR code from your carrier. If unsupported, your device will flag “Invalid SIM” or “No eSIM available.”
- Unlock your phone via carrier portal or requesting a permanent unlock code.
- Restart, then navigate to the eSIM setup menu to confirm the option appears.
- Download a free eSIM trial profile from a provider like Airalo to validate activation.
Using a Global eSIM on Tablets, Laptops, and Smartwatches
Using a global eSIM on tablets, laptops, and smartwatches extends seamless connectivity beyond your phone, though setup varies by device class. For tablets and laptops, check for an embedded eSIM chip or a physical SIM slot labeled “eSIM” in system settings; most modern iPads (cellular models), Windows Copilot+ PCs, and select Chromebooks support it. Smartwatches require a companion plan—often a cloned number from your phone—so verify the wearable’s standalone eSIM profile is unlocked. Activate each device individually via a QR code or manual activation code from your provider. The sequence: 1) Confirm device eSIM compatibility in manufacturer specs, 2) install the provider’s app or scan the QR, 3) assign a data line for the device. Dual connectivity works only if all gadgets share the same global plan’s data pool, so manage usage per device.
How to Pick the Right International Data Package for Your Trip
Before you board, imagine scrolling through maps and ride-hailing apps without a hiccup. That’s why you need to match your eSIM’s data volume to your actual itinerary—three days of city hopping demands less than two weeks of remote hiking with constant navigation. Check the coverage map for your specific destinations, not just the country, since rural valleys often lack the strong regional carriers your package relies on. For heavy usage like video calls or cloud backups, pick a plan with at least 5GB, but for light messaging and email, a 1GB option forces you to rely on Wi-Fi hotspots—and always buy a plan with a validity buffer of at least two extra days to cover flight delays or extended layovers. Finally, compare per-gigabyte costs across eSIM providers, prioritizing those that let you top up instantly via their app rather than forcing you to repurchase a whole new package.
Comparing Data Allowances, Validity Periods, and Coverage Regions
When comparing international eSIM options, prioritize data allowances, validity periods, and coverage regions as a single decision framework. A cheap 10GB plan is worthless if your trip spans 30 days or includes rural areas outside its coverage map. Match the allowance to your actual usage—streaming and navigation consume far more than messaging—and ensure the validity window covers your entire itinerary, not just departure dates. Likewise, verify the coverage region lists every country you’ll visit, not just major hubs; regional plans often beat global ones for multi-stop trips. Comparing data allowances, validity periods, and coverage regions prevents hidden overage fees or sudden disconnections. Q: What if my destination is listed but only on a slower network? A: Check if the eSIM’s coverage region specifies network tiers—some plans restrict high-speed data to urban zones, so rural connectivity may drop to unusable speeds.
Regional Plans vs. Worldwide Plans – Which Saves You More Money?
When comparing **regional plans vs. worldwide plans**, the money-saving winner depends entirely on your route. A regional eSIM (like Europe or Asia) usually costs 30–50% less per GB than a global one, because it covers a smaller network footprint. If you stay inside one zone, that’s your clear budget champ. But if your trip hops across continents, buying multiple regionals can quietly stack up activation fees—sometimes exceeding one worldwide plan’s flat rate. For a two-week, multi-country tour, a worldwide plan’s convenience often beats the math. The real trick? Map every country you’ll touch, then price both options against your actual data appetite—not your “just in case” habits.
Question: Regional vs. worldwide—which actually saves you more on a single trip?
Answer: If you stay in one region, regional wins on price per GB. If you cross regions, worldwide wins because you avoid paying twice for overlapping coverage or extra top-ups. Always calculate your exact country list first.
Practical Tips and Troubleshooting for Using a Global eSIM Abroad
Before you land, install your international eSIM while still on Wi-Fi to avoid activation hiccups. If data doesn’t work after arrival, toggle airplane mode on and off—this forces your phone to re-register on a local tower. Manually select a network in your settings if auto-connection fails, especially in rural zones. Always carry a physical SIM card as a backup for two-factor authentication texts, since many global eSIMs are data-only. For troubleshooting, check that your APN settings match the provider’s guide exactly; a single typo kills connectivity. Set your phone to “no roaming” for your primary line to prevent surprise charges, while keeping the eSIM active. Finally, reboot once—most glitches vanish with a simple restart.
Managing Data Usage and Avoiding Unexpected Depletion
To prevent your international eSIM from running dry mid-trip, treat your data plan like a budget, not a bottomless pool. First, disable automatic updates for apps, cloud backups, and email fetching in your device settings, as these silently consume megabytes in the background. Second, switch your messaging apps to “low-data mode” and pre-download offline maps for your destination—navigation is a top culprit for sudden depletion. Third, rely on hotel or café Wi-Fi for heavy tasks like video calls, but ensure your eSIM is set to “data roaming off” when connected to avoid accidental switching. Finally, check your carrier’s app daily to monitor usage. **Avoiding unexpected data depletion abroad** is about proactive control, not reactive panic—set a hard cap alert in your phone’s settings if available, and always carry a secondary offline reference for essential info. A few disciplined taps now save you from expensive top-ups later.
What to Do If You Lose Connectivity or Face Activation Errors
If your international eSIM drops connectivity or throws an activation error, first toggle airplane mode for 30 seconds to force a network re-registration. Next, manually select your carrier under *Settings > Cellular > Network Selection*, disabling “Automatic” if needed. For activation failures, verify your device’s carrier lock status and confirm the eSIM profile is installed on the correct SIM slot—many phones default to the physical SIM. Delete and re-download the eSIM profile using your original QR code or installation link, ensuring you’re on stable Wi-Fi. Finally, update your APN settings to match your provider’s exact values, then reboot. **Persistent troubleshooting steps** like resetting network settings or contacting support via live chat usually resolve backend provisioning issues.
What should you do if your eSIM activates but shows “No Service”? Reboot your phone, then manually scan for networks; if “No Service” persists, verify your plan’s coverage zone and destination-country compatibility—regional plans often exclude certain countries. As a last resort, request a fresh eSIM profile from your provider, as corrupted downloads are the common culprit behind activation errors.